The New York Times: This is the ultimate chocolate cake
‘When I set out to develop my ideal chocolate layer cake, my goal was to add just enough sugar to produce both a cake and a frosting that were flavourful but not noticeably sweet.’

I once read an interview with French chef Alain Ducasse, in which he said, “Sugar is the enemy of chocolate.” Ducasse owns his own chocolate company, which makes extraordinary bars and truffles, so I’d be inclined to take his word for it, even if all of my experience as a baker didn’t back up his statement. Undoubtedly, excessive sugar dulls and masks chocolate’s singular flavour.
Yet at the same time, sugar, in just the right quantity, brings chocolate to life, tempering its bitterness and bringing subtler flavours to the forefront. So when I set out to develop my ideal chocolate layer cake, my goal was to add just enough sugar to produce both a cake and a frosting that were flavourful but not noticeably sweet. The final cake had to be moist, but not heavy, and pack considerable chocolate flavour without being overpowering.
For that, I skipped melted chocolate in favour of cocoa powder. Melted chocolate tends to dry out cake batter, and unless you’re using 100% unsweetened chocolate, adding bar chocolate also means adding sugar, giving you a little less control over the final sweetness. Use the best-quality cocoa you can find, and make sure it’s labelled “Dutch process.” This means the cocoa that has been alkalised, neutralizing some of the natural acidity and giving the cocoa a darker colour and a rounder, more roasted flavour.
Sign up to The Nightly's newsletters.
Get the first look at the digital newspaper, curated daily stories and breaking headlines delivered to your inbox.
By continuing you agree to our Terms and Privacy Policy.To ensure a supple cake, I opted for an oil-based batter instead of a butter-based one. Oil is liquid at room temperature, so oil-based cakes tend to resist drying out better than butter-based ones. But because a little bit of butterfat flavour is always welcome, I use crème fraîche (or sour cream) in place of a more traditional liquid, such as milk or buttermilk. The acid in crème fraîche also reacts with the baking soda in the dry ingredients, creating lift so the cake bakes up light and bouncy.

Layer cakes can be a little intimidating for some people, but provided you have a mixer, assembling the batter couldn’t be easier. It’s made using a method that’s similar to the “reverse creaming” method popularized by cake expert Rose Levy Beranbaum, in which the dry ingredients, sugar, fat and a portion of the liquid are first mixed together before the eggs and remaining liquid are added. Not only does this technique allow you to measure nearly everything directly in the mixing bowl, but it also results in a very tender cake that bakes into relatively flat layers, making assembly a little easier.
The frosting is where melted chocolate shines (literally), giving it a high gloss and ultra-silky texture. Rather than employing egg white-based Swiss or Italian meringue buttercreams, which are fluffy and a little technical, I make a variation on German buttercream, which calls for whipping butter into a pastry cream base for a denser texture. After cooking a quick pudding on the stove, I stir in a high proportion of chopped chocolate until melted, then beat in the butter to make a frosting that manages to be smooth, dense and light all at the same time.

As with any cake made with a butter-based frosting, this one must be served at room temperature to safeguard the frosting’s texture (when cold, buttercream hardens). You can absolutely make it ahead and refrigerate it — the flavour of oil-based cake tends to improve over time — just remember to give it several hours to reach room temperature before serving. While I would definitely describe this cake as “not too sweet,” unlike denser chocolate cakes that saturate your palate, it’s balanced and not overly intense, so the last bite is as good as the first.
Recipe: Chocolate Layer Cake
By Claire Saffitz
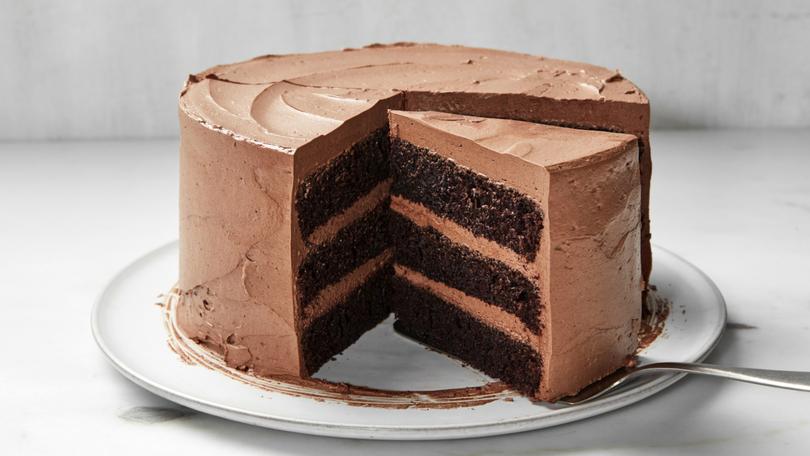
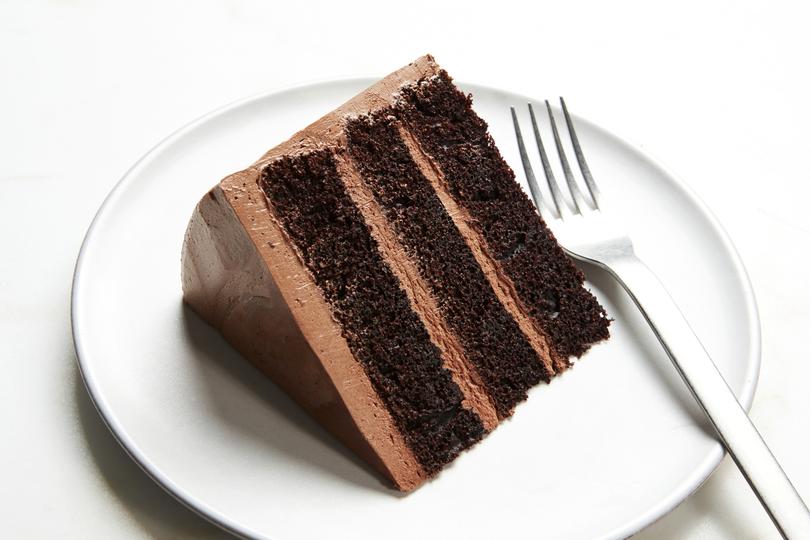
The texture of this oil-based chocolate cake strikes an ideal balance between dense and fudgy and light and fluffy. It’s ultratender thanks to cake flour. The frosting, a variation on German buttercream, uses a chocolate pudding base whipped with butter to create a complement to the cake that’s both rich and airy.
Yield: 10 servings
Total time: 2 1/4 hours
Ingredients:
For the Cake:
Room-temperature butter, for greasing the pans
2 cups/260 grams cake flour
2 1/4 cups/450 grams granulated sugar
2 teaspoons Diamond Crystal kosher salt or 1 teaspoon Morton kosher salt
1 1/2 teaspoons baking soda
1 1/2 teaspoons baking powder
1 cup/80 grams unsweetened Dutch-process cocoa powder, sifted if lumpy
3/4 cup/177 grams strong freshly brewed coffee, steaming hot
1 cup/240 grams crème fraîche, at room temperature
1 tablespoon vanilla extract
5 large eggs plus 2 large yolks, at room temperature
3/4 cup/180 grams neutral oil, such as avocado or vegetable
For the Buttercream:
8 ounces/226 grams semisweet chocolate (54% to 64% cacao), finely chopped
1 cup/240 grams whole milk
1/2 cup/100 grams granulated sugar
3 tablespoons unsweetened Dutch-process cocoa powder, sifted if lumpy
2 tablespoons all-purpose flour
1 1/2 teaspoons Diamond Crystal kosher salt or 3/4 teaspoon Morton kosher salt
4 large egg yolks
1 1/4 cups/284 grams unsalted butter, cut into tablespoon-size pieces, at room temperature
2 teaspoons vanilla extract

Preparation:
1. Arrange an oven rack in the upper third of the oven and another in the lower third. Heat the oven to 350 degrees. Lightly coat the bottom and sides of 3 (8-inch) cake pans with butter, then line the bottoms with rounds of parchment paper and smooth the parchment to eliminate air bubbles.
2. In the bowl of a stand mixer fitted with the paddle attachment, combine the cake flour, granulated sugar, salt, baking soda and baking powder; mix on low speed just until combined.
3. Bloom the cocoa: In a medium bowl, whisk to combine the cocoa powder and hot coffee. Add the crème fraîche and vanilla, then whisk until completely smooth. Set aside.
4. In a separate medium bowl, whisk the 5 whole eggs and 2 yolks until smooth; set aside.
5. Mix the batter: To the stand mixer bowl, add the oil and half of the cocoa mixture; mix on low speed just until the flour is completely coated in the liquid ingredients. Pause the mixer and scrape down the sides and bottom of the bowl, then mix on medium until smooth and pasty, about 30 seconds. Pause and scrape down the sides and bottom of the bowl again, then add the whisked eggs and remaining cocoa mixture. Beat on medium speed, scraping down the sides and bottom of the bowl once or twice, until the batter is very silky and has the consistency of thin pancake batter, about 1 minute.
6. Pour the batter into the prepared pans, dividing evenly. (For uniform layers, use a scale – you’ll get about 550 grams of batter per pan.) Transfer the pans to the oven, positioning two on the upper rack and one on the lower, staggering them so the pans above don’t block the one below. Bake, rotating the top two pans side to side and rack to rack after 20 minutes, until the tops of the cakes are domed, springy to the touch and a toothpick or cake tester inserted into the centres comes out clean, 25 to 30 minutes.
7. Remove the pans from the oven and let cool completely on a wire rack.
8. To make the buttercream, start with the pudding base: Place the chocolate in the clean bowl of the stand mixer fitted with the paddle attachment. In a small saucepan, combine the milk and 1/4 cup/50 grams of the sugar. Bring to a simmer over medium, stirring occasionally to dissolve the sugar, then remove from the heat and set aside. In a medium bowl, add the cocoa powder, flour, salt and remaining 1/4 cup/50 grams sugar, and whisk until combined. Add the yolks to the bowl and whisk slowly to combine (it will seem very thick at first, but will loosen up), then whisk more vigorously until the mixture is pale, thick and smooth. Whisking the yolk mixture constantly, slowly stream in about half of the warm milk mixture, then whisk the contents of the bowl back into the saucepan. Set the saucepan over medium-low heat and cook, whisking constantly and scraping against the sides, until thick and bubbling, 1 to 3 minutes. Immediately scrape the pudding over the chocolate in the stand mixer bowl.
9. Make the buttercream: Let the pudding mixture sit for a few minutes, so the heat gently melts the chocolate, then mix with the paddle on low speed until the chocolate is completely melted and the pudding is smooth and glossy. Increase the speed to medium and beat until the outside of the bowl is cool to the touch, 10 to 15 minutes. With the mixer running, add the butter a couple of pieces at a time, waiting for each addition to incorporate into the pudding before adding the next, until you have a smooth, glossy, spreadable frosting. Stop the mixer, thoroughly scrape the sides and bottom of the bowl, and add the vanilla. Beat once more just until evenly mixed.
10. Unmould and level the cakes: Use a butter knife or small offset spatula to cut around the cooled cakes, pressing the blade firmly against the sides of the pans to loosen them. Invert the cakes onto a wire rack, remove the parchment paper if necessary, then invert again onto a second rack or cutting board so they’re domed side up. Holding a serrated knife parallel to the work surface, slice horizontally through the surface of each cake to level the layers. (The scraps are perfect for snacking.)
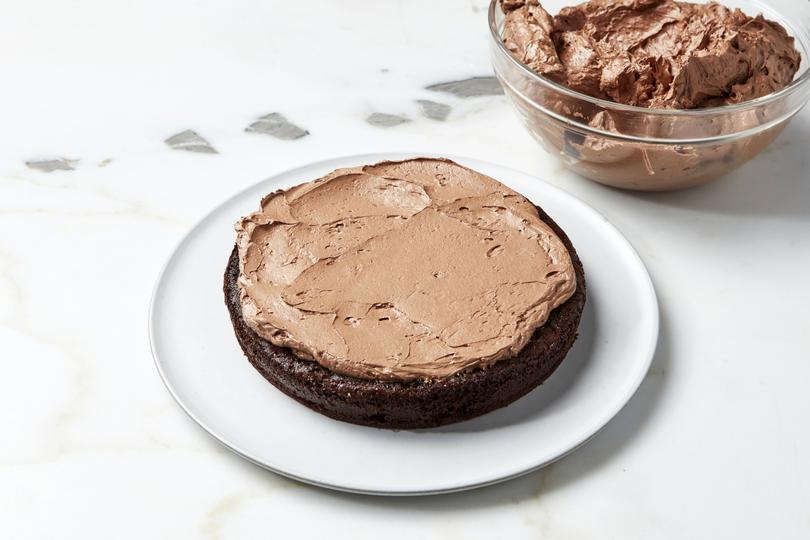
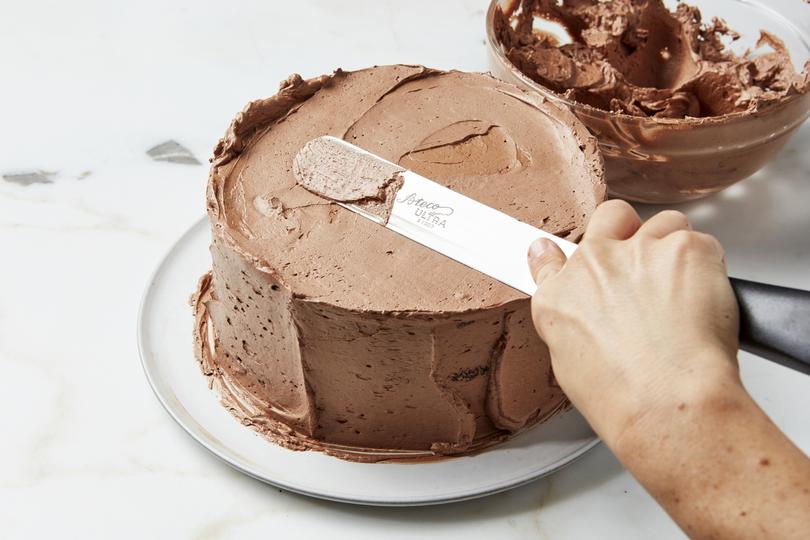
11. Place one of the layers cut side-down on a serving plate, cake stand or cardboard cake round. Dollop about 1 cup buttercream in the centre, then use an offset spatula to spread it evenly all the way to the edges. Place a second layer cut side-down over the first, centre it, then top with another 1 cup of buttercream. Place the third layer on top, cut side-down, pressing gently to level it. Scrape about half of the remaining buttercream over the top of the cake, then use the spatula to spread it across the surface and down the sides, covering the entire cake in a very thin layer of frosting. (The cake will show through in several places; this is just the crumb coat.) Transfer the cake to the refrigerator and chill just until the frosting is firm, 10 to 15 minutes, then cover with the remaining frosting.
12. The assembled cake will keep, loosely covered at room temperature, for 1 day. (Before covering the cake, chill it for 15 minutes so the frosting can firm up.) After 24 hours, refrigerate the cake and be sure to tightly cover any cut surfaces. Bring the cake to room temperature before serving.
This article originally appeared in The New York Times.
© 2023 The New York Times Company
Originally published on The New York Times
